PowerPoint 2010
Creating Photo Albums in PowerPoint
Creating a photo album
PowerPoint allows you to import a set of pictures into a photo album presentation. With the photo album feature you can select, rearrange, adjust, and add text to your pictures. By default, one picture will appear on each slide, but you can adjust the slide layout to include multiple images if you want.
To create a photo album:
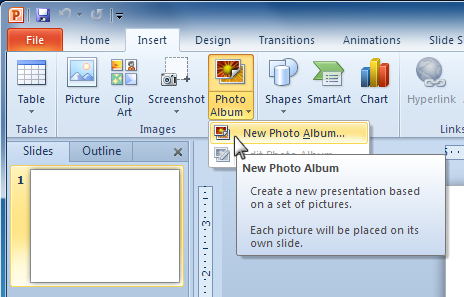
- Select the Insert tab.
-
Click the
Photo Album
command in the
Images
group, then select
New Photo Album
.
 Selecting New Photo Album
-
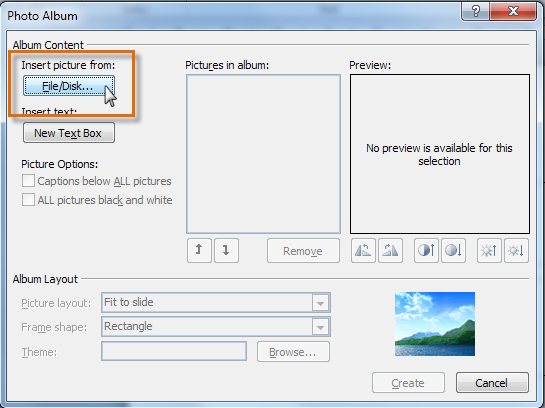
The
Photo Album
dialog box appears. Locate and click on the
File/Disk...
button.
 The Photo Album dialog box
-
Select the desired image file(s). Click
Insert
.
- To select all images in your folder, click the first image, then press and hold the Shift key and select the last image.
- To select multiple nonadjacent images, press and hold the Control key while clicking the desired images.
 Selecting pictures for a photo album
-
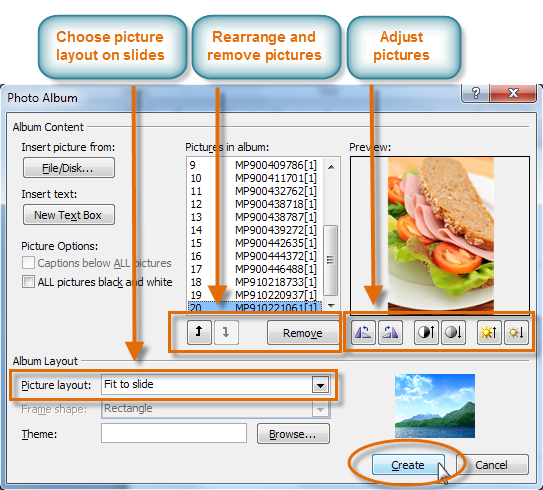
The Photo Album dialog box provides several options for moving, adjusting, and changing the layout of pictures. Edit as needed, then click
Create
to insert pictures into the photo album.
 Creating photo album
-
A separate presentation will be created for the photo album. By default, it will include a title page and one picture per slide.
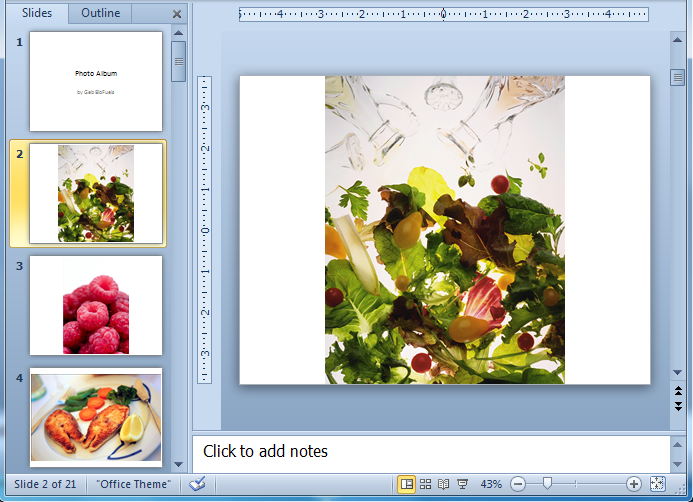 Photo album results