PowerPoint Tips
Using the Format Painter in PowerPoint and Word
Using the Format Painter in PowerPoint and Word
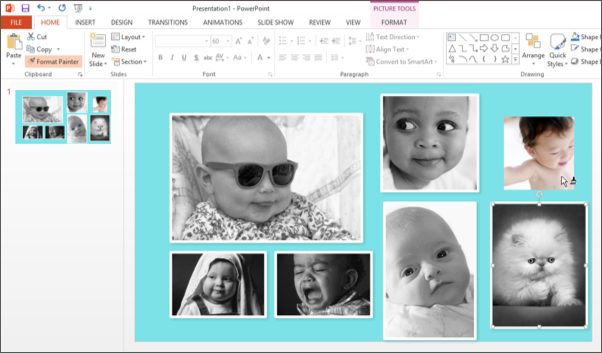
Themes can be a great way to make your PowerPoint presentation or Word document look nice, but sometimes you might want to add custom design elements to your project. Custom formatting can be tedious, though, especially when you're doing a lot of it. For instance, take this PowerPoint slide. Let's say you've applied a series of effects to the photo on the left, and now you'd like to do the same to the photo on the right.
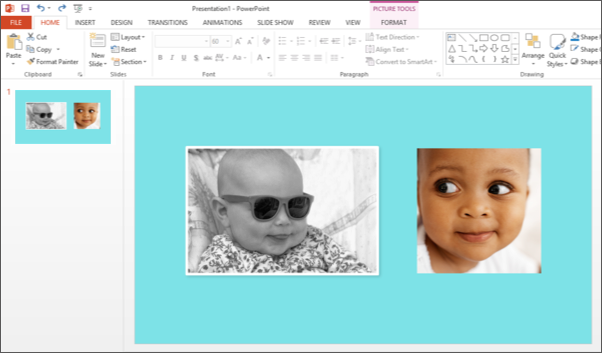
You could try to remember all of the effects applied and apply them to the second photo as well—or you could save some time and use the Format Painter . The Format Painter is a tool in Word and PowerPoint that lets you copy all of the formatting from one object and apply it to another one. Think of it as copying and pasting for formatting.
Using the Format Painter
-
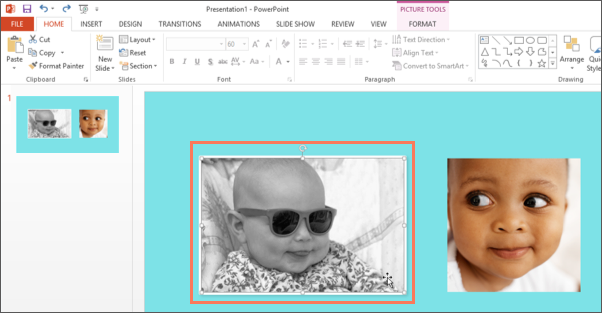
Select the object with the formatting you want to copy.
-
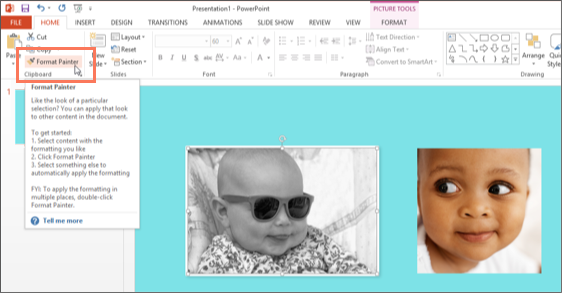
Click the
Format Painter
icon. It may be located in a slightly different place, depending on your version of Office, but it always looks like a
paintbrush
.
-
Select the object you want to apply the formatting to. The object will be formatted.
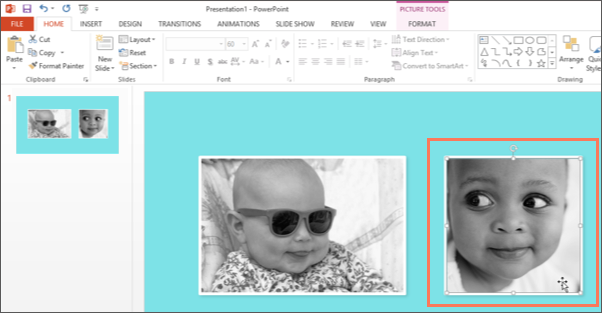
See? Simple! That was much quicker than applying the individual effects one at a time. If you want, you can even use the Format Painter to apply the formatting to multiple objects. Just double-click the Format Painter icon instead of clicking it once.
Even though we only looked at using the Format Painter for photos in PowerPoint, you can use it for anything you can apply formatting to in Word or PowerPoint. This includes text , table cells , and shapes . Once you start using it, you'll be surprised how often it comes in handy. You might even add it to your Quick Access Toolbar to make it even easier to use!