Access 2013
Sorting and Filtering Records
Introduction
Access gives you the ability to work with enormous amounts of data, which means it can be difficult to learn anything about your database just by glancing at it. Sorting and filtering are two tools that let you customize how you organize and view your data, making it more convenient to work with. In this lesson, you'll learn how to sort and filter records
Throughout this tutorial, we will be using a sample database. If you would like to follow along, you'll need to download our Access 2013 sample database . You will need to have Access 2013 installed on your computer in order to open the example.
About sorting and filtering
Essentially, sorting and filtering are tools that let you organize your data . When you sort data, you are putting it in order . Filtering data lets you hide unimportant data and focus only on the data you're interested in.
Sorting records
When you sort records, you are putting them into a logical order , with similar data grouped together . As a result, sorted data is often simpler to read and understand than unsorted data. By default, Access sorts records by their ID numbers . However, there are many other ways records can be sorted. For example, the information in a database belonging to a bakery could be sorted in a number of ways:
- Orders could be sorted by order date or by the last name of the customers who placed the orders.
- Customers could be sorted by name or by the city or zip code where they live.
- Products could be sorted by name , category (like pies, cakes, and cupcakes), or price .
You can sort both text and numbers in two ways: in ascending order and descending order. Ascending means going up , so an ascending sort will arrange numbers from smallest to largest and text from A to Z . Descending means going down , or largest to smallest for numbers and Z to A for text. The default ID number sort that appears in your tables is an ascending sort, which is why the lowest ID numbers appear first.
In our example, we will be performing a sort on a table. However, you can sort records in any Access object. The procedure is largely the same.
To sort records:
-
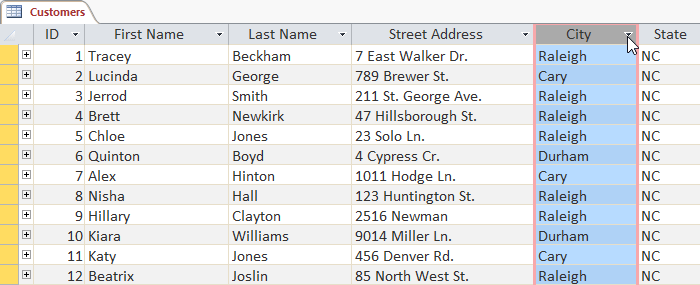
Select a field you want to sort by. In this example, we will sort by customers' last names.
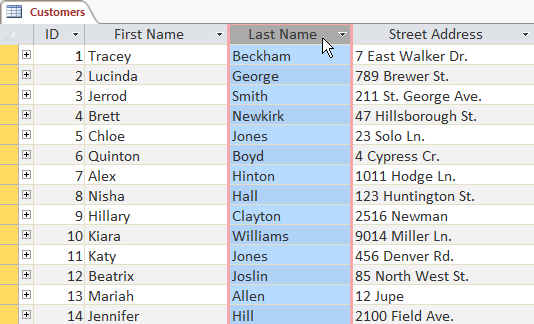 Selecting a field by clicking on its title
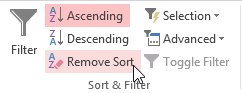
- Click the Home tab on the Ribbon, and locate the Sort & Filter group.
-
Sort the field by selecting the
Ascending
or
Descending
command.
- Select Ascending to sort text A to Z or to sort numbers from smallest to largest. We will select this in our example because we want the last names to be in A-to-Z order.
- Select Descending to sort text Z to A or to sort numbers from largest to smallest.
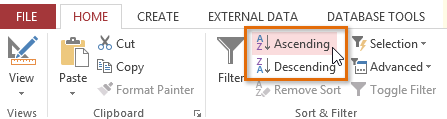 The Ascending and Descending Sort commands
-
The table will now be sorted by the selected field.
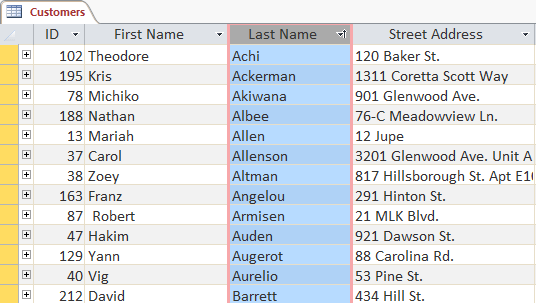 The same table with an ascending sort applied to the Last Name field
-
To save the new sort, click the
Save
command on the Quick Access toolbar.
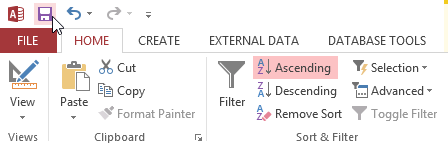 Saving the sort
After you save the sort, the records will stay sorted this way until you perform another sort or remove the current one. To remove a sort, click the Remove Sort command.
 Removing the sort
Filtering records
F ilters allow you to view only the data you want to see . When you create a filter, you set criteria for the data you want to display. The filter then searches all of the records in the table, finds the ones that meet your search criteria, and temporarily hides the ones that don't.
Filters are useful because they allow you to focus in on specific records without being distracted by the data you're uninterested in. For instance, if you had a database that included customer and order information, you could create a filter to display only customers living within a certain city or only orders containing a certain product. Viewing this data with a filter would be far more convenient than searching for it in a large table.
In our examples and explanations, we will be applying filters to tables. However, you can apply filters to any Access object. The procedure is largely the same.
To create a simple filter:
-
Click the
drop-down arrow
next to the field you want to filter by. We will filter by city because we want to see a list of customers who live in a certain city.
 Selecting a field to sort by
-
A drop-down menu with a checklist will appear. Only checked items will be included in the filtered results. Use the following options to determine which items will be included in your filter:
- Select and deselect items one at a time by clicking their checkboxes.
- Click Select All to include every item in the filter. If all items are already selected, this option will deselect all items.
- Click Blanks to set the filter to find only the records with no data in the selected field.
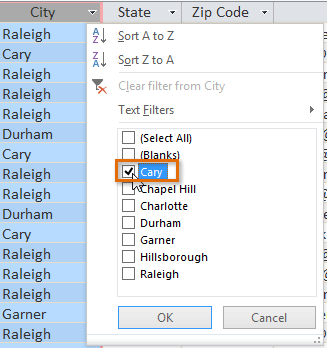 Setting the filter to only show records with "Cary" in the city field
-
Click
OK
. The filter will be applied. Our customers table now displays only customers who live in Cary.
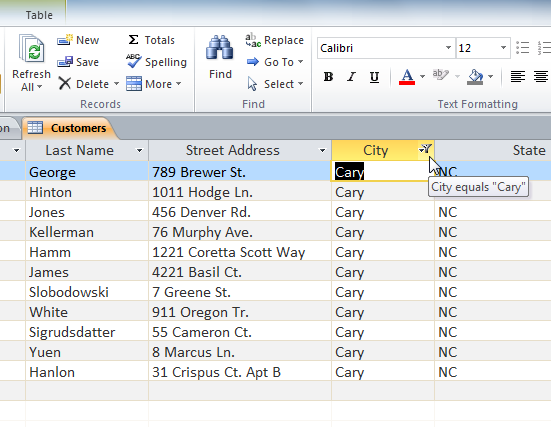 The filtered table, now showing only the records for customers who live in Cary
Toggling your filter allows you to turn it on and off. To view the records without the filter, click the Toggle Filter command. To restore the filter, click it again.
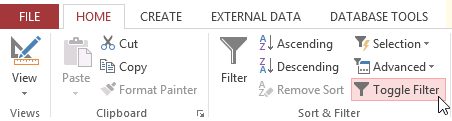 Removing the current filter with the Toggle Filter command
Creating a filter from a selection
Filtering by selection allows you to select specific data from your table and find data that is similar or dissimilar to it. For instance, if you were working with a bakery's database and wanted to search for all products whose names contained the word chocolate , you could select that word in one product name and create a filter with that selection. Creating a filter with a selection can be more convenient than setting up a simple filter if the field you're working with contains many items.
To create a filter from a selection:
-
Select the cell or data you want to create a filter with. We want to see a list of all of our products that contain the word
chocolate
in their names, so we'll select the word
chocolate
in the
Product Name
field.
 Selecting text to filter for
-
Select the
Home
tab on the Ribbon, locate the
Sort & Filter
group, and click the
Selection
drop-down arrow.
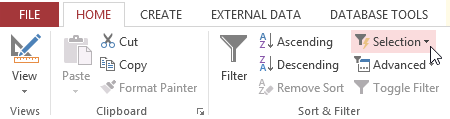 Clicking the Filter by Selection command
-
Select the type of filter you want to apply:
- Contains includes only records with cells that contain the selected data. We'll select this because we want to see records that contain the word chocolate anywhere in the title.
- Does Not Contain includes all records except for those with cells that contain the selected data.
- Ends With includes only records whose data for the selected field ends with the search term.
- Does Not End With includes all records except for those whose data for the selected field ends with the search term.
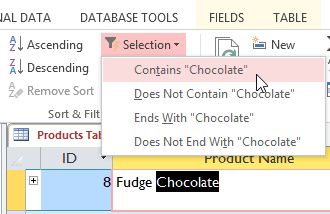 Setting the filter to show only records that contain the selected word
-
The filter will be applied. Our table now displays only products with the word
chocolate
in their names.
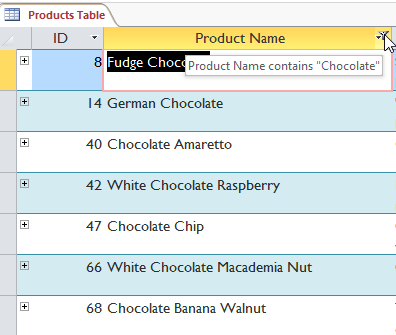 The filtered table showing only records containing "chocolate" in the Product Name field
Creating a filter from a search term
You can also create a filter by entering a search term and specifying the way Access should match data to that term. Creating a filter from a search term is similar to creating a filter from a selection.
Filtering text by a search term
When filtering text by entering a search term, you can use some of the same options you use when filtering by a selection, like Contains , Does Not Contain , Ends With , and Does Not End With . You can also choose from the following options:
- Equals , which includes only records with data that is identical to the selected data
- Does Not Equal , which includes all records except for the data that is identical to the selection
- Begins With , which includes only records whose data for the selected field begins with the search term
- Does Not Begin With , which includes all records except for those whose data for the selected field begins with the search term
To filter text by a search term:
-
Click the
drop-down arrow
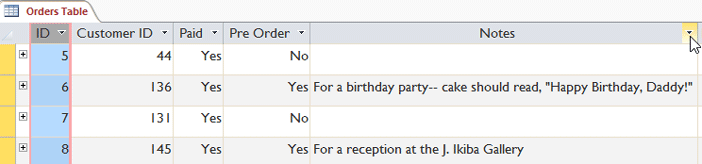
next to the field you want to filter by. We want to filter the records in our orders table to display only those that contain notes with certain information, so we'll click the arrow in the
Notes
field.
 Selecting a field to filter by
-
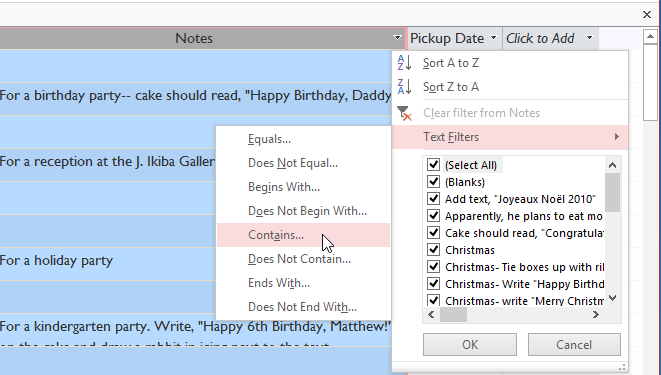
In the drop-down menu, hover your mouse over
Text Filters
. From the list that appears, select the way you want the filter to match the term you enter. In this example, we want to view only records whose notes indicate the order was placed for a party. We'll select
Contains
so we can search for records that contain the word
party
.
 Selecting filter settings
-
The
Custom Filter
dialog box will appear. Type the word you want to use in your filter.
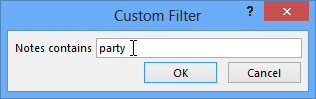 Typing the term the filter will search for
-
Click
OK
. The filter will be applied.
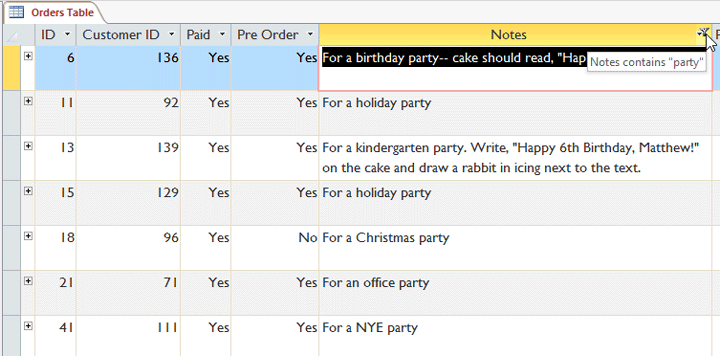 The filtered table showing only records containing the word "party" in the Notes field
Filtering numbers with a search term
The process for filtering numbers with a search term is similar to the process for filtering text. However, different filtering options are available to you when working with numbers. In addition to Equals and Does not Equal , you can choose:
- Greater Than to include only records with numbers in that field that are greater than or equal to the number you enter
- Less Than to include only records with numbers in that field that are less than or equal to the number you enter
- Between to include records with numbers that fall within a certain range
To filter numbers by a search term:
- Click the drop-down arrow next to the field you want to filter by. We want to filter the records in our menu items table by price, so we'll click the arrow in the Price field.
-
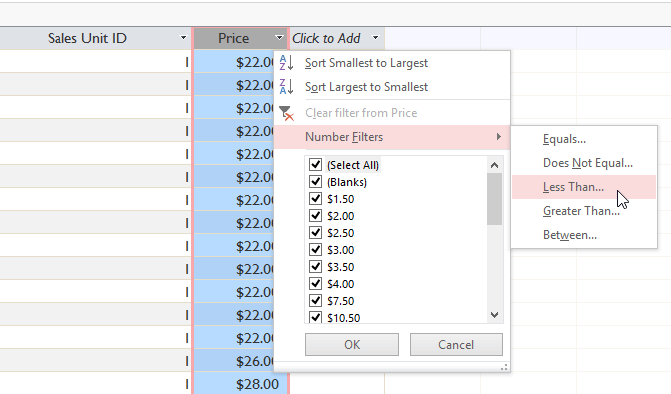
In the drop-down menu, hover your mouse over
Number Filters
. From the list that appears, select the way you want the filter to match your search term. In this example, we want to see items that are less than $5, so we'll select
Less Than
.
 Selecting a field to filter by
-
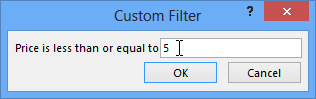
The
Custom Filter
dialog box will appear. Type the number or numbers you want to use in your filter. We'll type
5
so the filter will show us only menu items that cost $5 or less.
 Typing the number to filter for
-
Click
OK
. The filter will be applied.
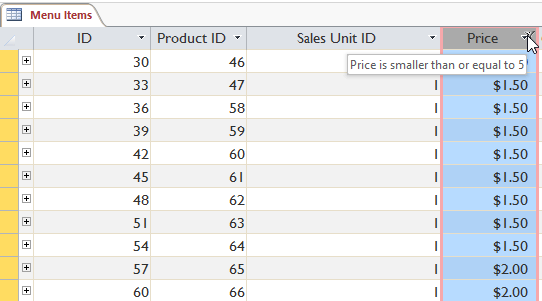 The filtered table showing only records for menu items costing $5 or less
Specific types of numbers may include other filtering options. For instance, dates stored in numerical form (mm/dd/yyyy, or 12/01/2013) include options to filter by periods of time.
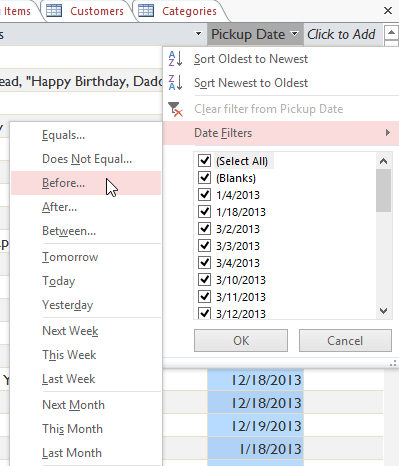 Filtering by date
Challenge!
- Open an existing Access database . If you want, you can use our Access 2013 sample database .
- Open the query called Cakes and Pies Sold .
- Apply a filter to the Product Types field that shows only Cakes .
- In the Sum of Quantity field, apply a filter that only shows numbers greater than five.
- Apply an ascending sort to the Sum of Quantity field.
- Save the database.